How to Break In a New Cue Tip
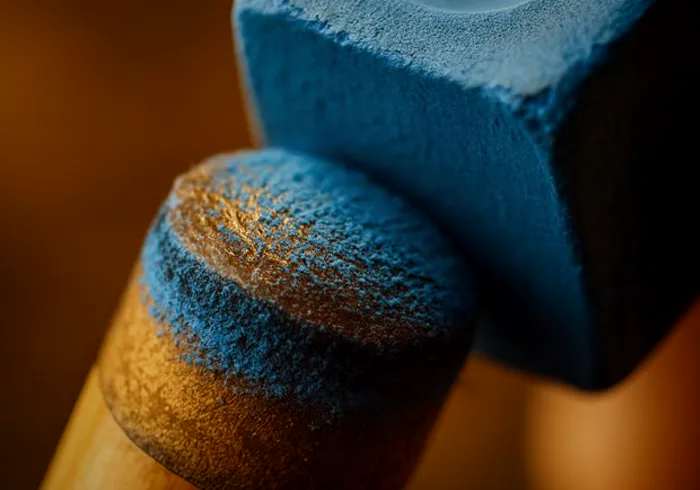
A brand new cue tip almost never plays its best on day one. Fresh from installation the leather is slick, usually glazed from the trimming and burnishing, and it holds chalk badly. That is why a new tip miscues more in its first hour than it will for the rest of its life. Breaking one in takes about five minutes of real work and a couple of weeks of patience.
Why new tips are slick
When a tip goes on, the installer trims the sides flush and burnishes them, and the top of the tip gets compressed and polished along the way. What you end up with is a smooth, faintly glazed crown that chalk skates across instead of gripping. Chalk needs texture to bond to, a fine roughness in the leather. Until the tip has that texture it is playing bare. And bare leather on a slick cue ball is where miscues come from.
Which is also why judging a new tip in its first session is a mistake. Players swap tips, miscue twice, and decide the new tip is junk. Usually the tip is fine and just glazed. That same tip after a proper scuff and a week of play is the tip they actually bought. Give it the break-in before you give it a verdict.
First scuff and shaping
Before you play a rack, do two things:
- Shape it. Bring the crown to the radius you like with a tip shaper, dime for more spin sensitivity, nickel for a more forgiving contact. Most tips arrive flatter than either. Rotate the shaft as you work so the dome comes out even.
- Scuff it. One light pass with a scuffer or the abrasive face of a tip tool opens the glazed surface. You are after a uniform matte texture across the whole crown, not gouges. Light pressure, a few strokes, done.
Then chalk it generously. The first chalking of a fresh scuff should coat evenly, no shiny spots showing through. If chalk will not stick somewhere, scuff that spot again.
Layered vs. pressed tips
How much break-in you face depends on the tip. Layered tips like Kamui, Moori, or Zan are built from thin pig or cow hide laminations pressed to a controlled hardness. They arrive close to their final density, hold their shape, and usually want nothing more than that first scuff and shape.
Single-piece pressed tips like Le Pro or Triangle vary more. The leather compacts under play, so the feel shifts over the first weeks and displaced material gets pushed sideways. They cost a fraction of a layered tip and plenty of great players use them. They just ask for more attention early on.
Hardness plays into it too. Soft tips compact and mushroom the most. Medium tips are the middle path most players should start with. Hard tips barely change shape but glaze faster, so they want light scuffing more often. Whatever you play, the break-in routine is the same; only the amount of trimming changes.
Mushrooming and trimming
As a pressed tip compacts, leather squeezes outward past the ferrule edge into a bulge players call mushrooming. A slight mushroom in the first couple of weeks is normal. Left alone it gets worse, looks bad, and can change how the tip contacts on extreme English.
Trim it with a tip trimmer or burnishing tool that cuts the sidewall flush with the ferrule, then burnish the sides slick with the tool or a scrap of leather so the wall resists spreading again. Expect to repeat that once or twice while the tip finishes compacting. Layered tips rarely mushroom enough to bother.
When the tip settles
After two or three weeks of regular play a pressed tip stops compacting, holds its shape between sessions, and plays the same way every time. A layered tip usually gets there within a few sessions. From then on maintenance drops to almost nothing: true up the shape with an occasional pass of the shaper, scuff only when the crown glazes and chalk stops sticking, and resist the urge to grind on it constantly. Every scuff takes leather off, and tips are consumables you would rather replace yearly than monthly.
A settled tip is worth protecting between sessions. A joint cap or tip protector keeps the crown from being flattened against a case wall, and storing the cue dry keeps the leather from softening. Do that and the next break-in is a year or more away.
Our picks
Links open the current selection and price on Amazon so you can compare real reviews before buying.
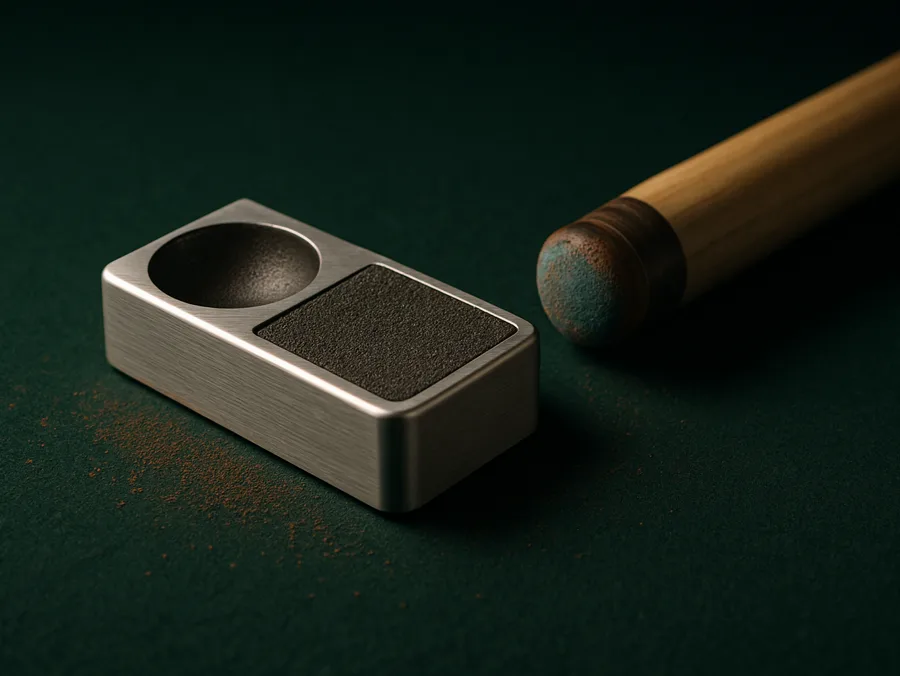
Ultimate Tip Tool
Shaping and scuffingShaper, scuffer, and aerator in one pocket-size tool, and the dime and nickel radius guides handle that first shaping pass.
Check price on AmazonCuetec Bowtie tip tool
Trimming and burnishing mushroomsThe bowtie design shapes the crown, and its cutter-burnisher takes sidewall mushrooming back flush to the ferrule.
Check price on Amazon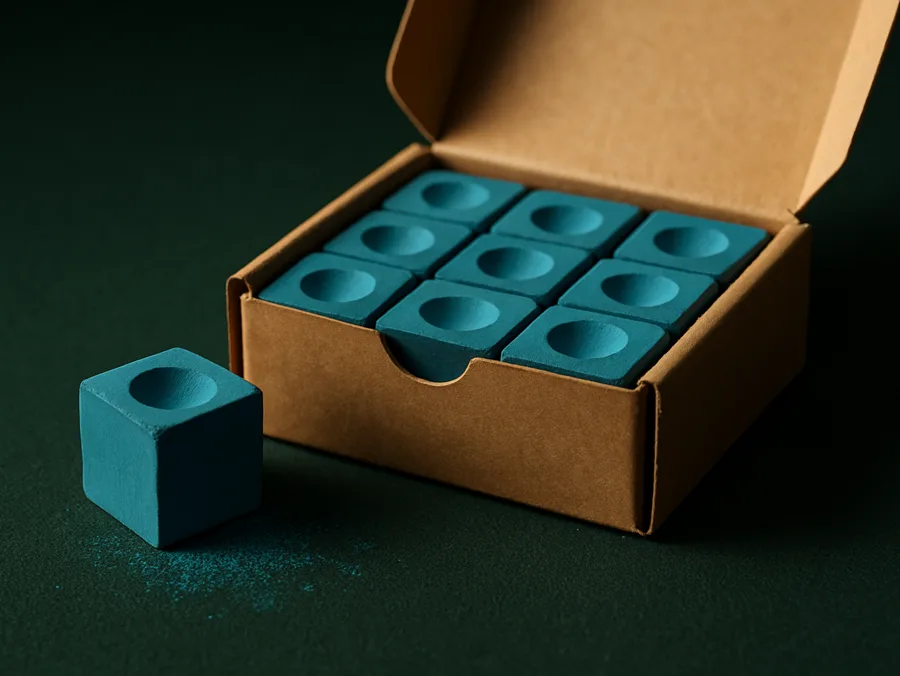
Master chalk box of 12
Loading a fresh tipA freshly scuffed tip drinks chalk. A full box of the standard cube means you never have to baby one while the tip breaks in.
Check price on AmazonFrequently asked questions
How long does it take to break in a new cue tip?
The scuff and shape takes five minutes and makes the tip playable right away. Full settling takes a few sessions for layered tips and two to three weeks for pressed leather tips, which compact and may mushroom along the way.
Why does my new tip keep miscuing?
The crown is almost certainly still glazed and shedding chalk. Scuff it lightly until the whole surface holds an even coat with no shiny patches, and chalk before every shot with spin while it breaks in.
Do layered tips need break-in?
Very little. Laminated tips arrive at close to final density and shape, so a first scuff and a shaping pass is usually all they need. That predictability is much of what the higher price buys.
Related guides
LeaguePool is reader-supported. When you buy through links on this site we may earn an affiliate commission at no extra cost to you. As an Amazon Associate we earn from qualifying purchases.